
pizza pizza
Summer 2026
We love pizza. Well, who doesn't?!! But we don't love just any pizza. A favorite is what Anne calls "Pesaro style" because we had some in Pesaro, Italy. It is basically Neapolitan style, thin but airy. But we don't want to go to Italy to have this pizza, and would like to make it at our own house. After waiting for years to find one we like, we bought a Gozney pizza oven, the Arc XL. We are happy to say that is has been a marvelous purchase.
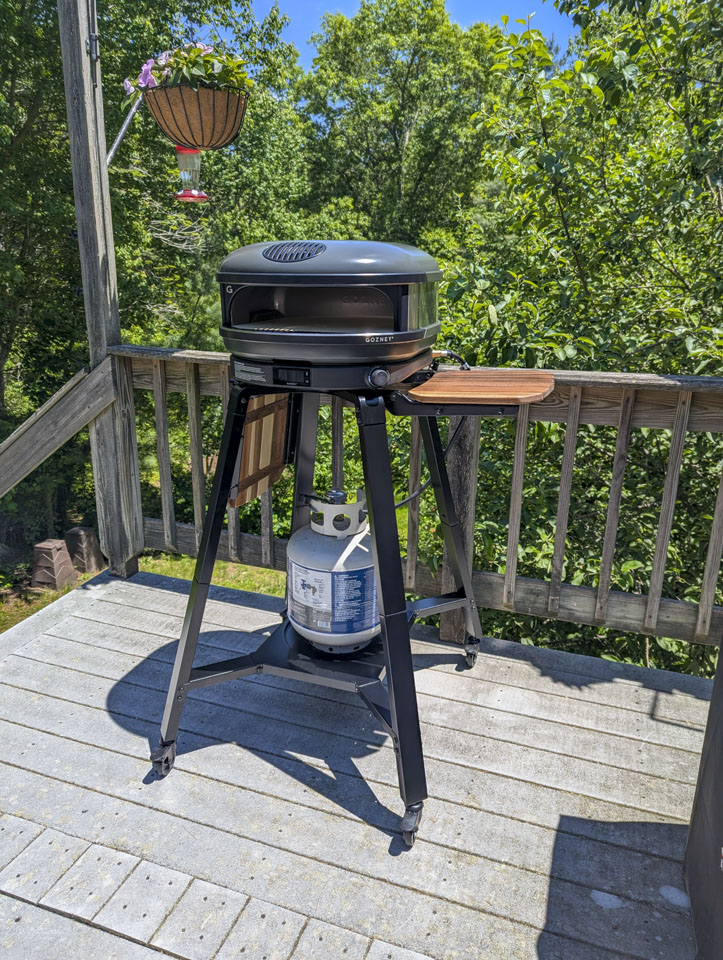
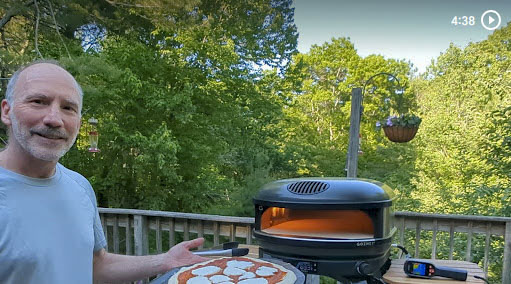
We started simply, with a margherita pizza. We actually did not take any pictures, but we did take a video. Spoiler alert: The pizza came out great! It was a thrilling start to using the pizza oven. Click on the screenshot below to access the video. This will also give you an idea of how quickly pizza cooks in this oven.
We should talk about pizza dough before we go further. The dough is an important element to the pizza. Anne makes our dough, which is a high hydration slow fermentation dough. On the first day she makes a poolish (half water, half flour, bit of yeast). Then the next day the poolish is mixed in with the remaining water, flour, and yeast. The final dough is refrigerated (or frozen) for a couple more days. This is the same dough she had worked out for making pizzas in our kitchen oven, but it comes out better with the higher heat of the pizza oven.
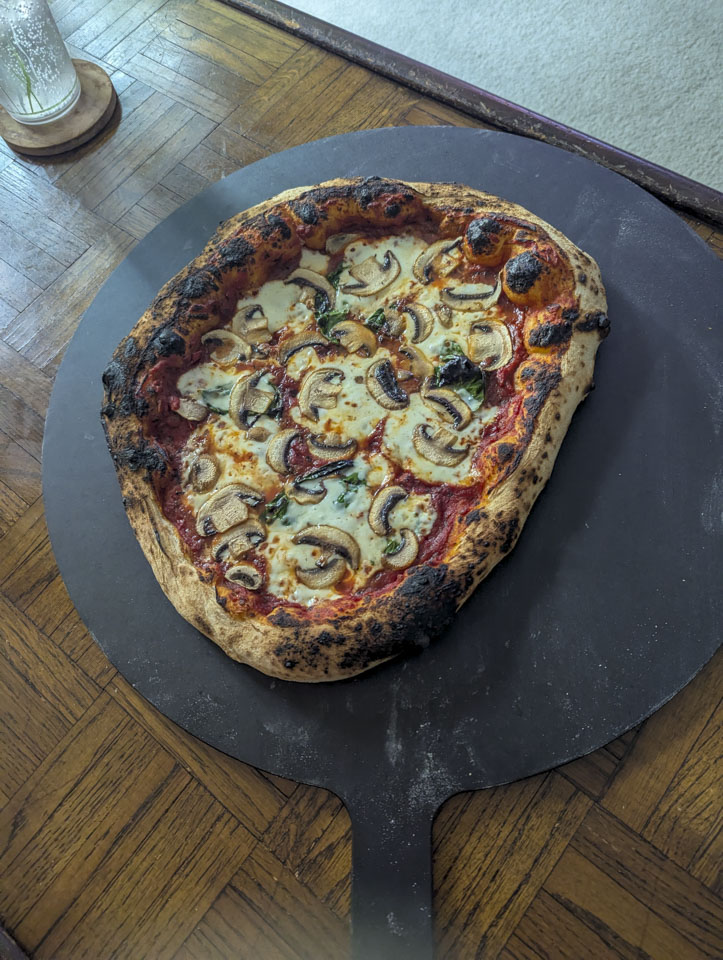
We did not wait long to try the pizza oven again. Our second version was a mushroom pizza.
Something new to learn: a turning peel. A peel is a large flat long-handled metal spatula; the pizza is launched into the oven using a peel. The turning peel is a small version designed specifically for turning the pizza while it is in the oven. We again made a margherita pizza since this was our 1st time with the turning peel. Paul did great for his 1st time using the turning peel. You can see a small album with start-to-finish pictures of this pizza at this link.
Repeating the same learning steps, we then made a mushroom pizza. This first picture is just after the pizza was launched off the peel and into the oven.
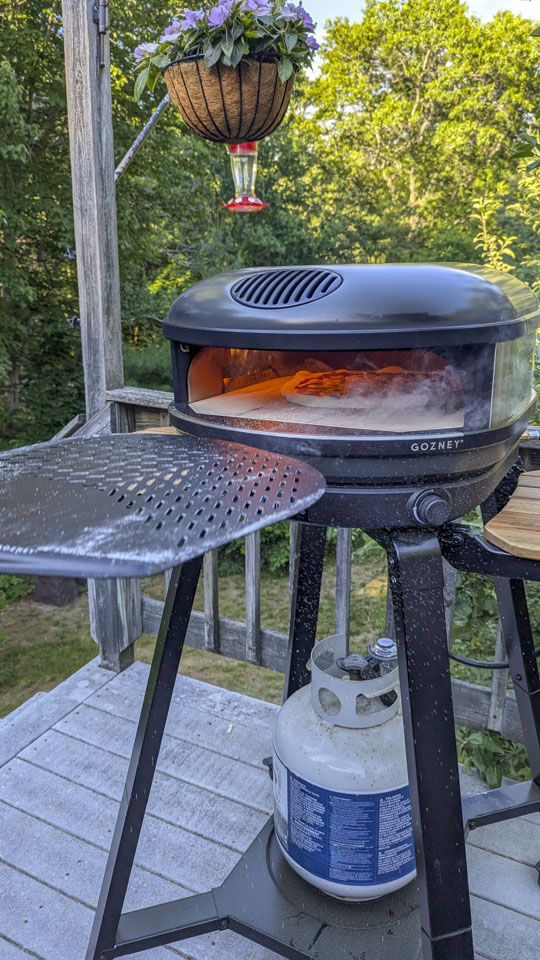
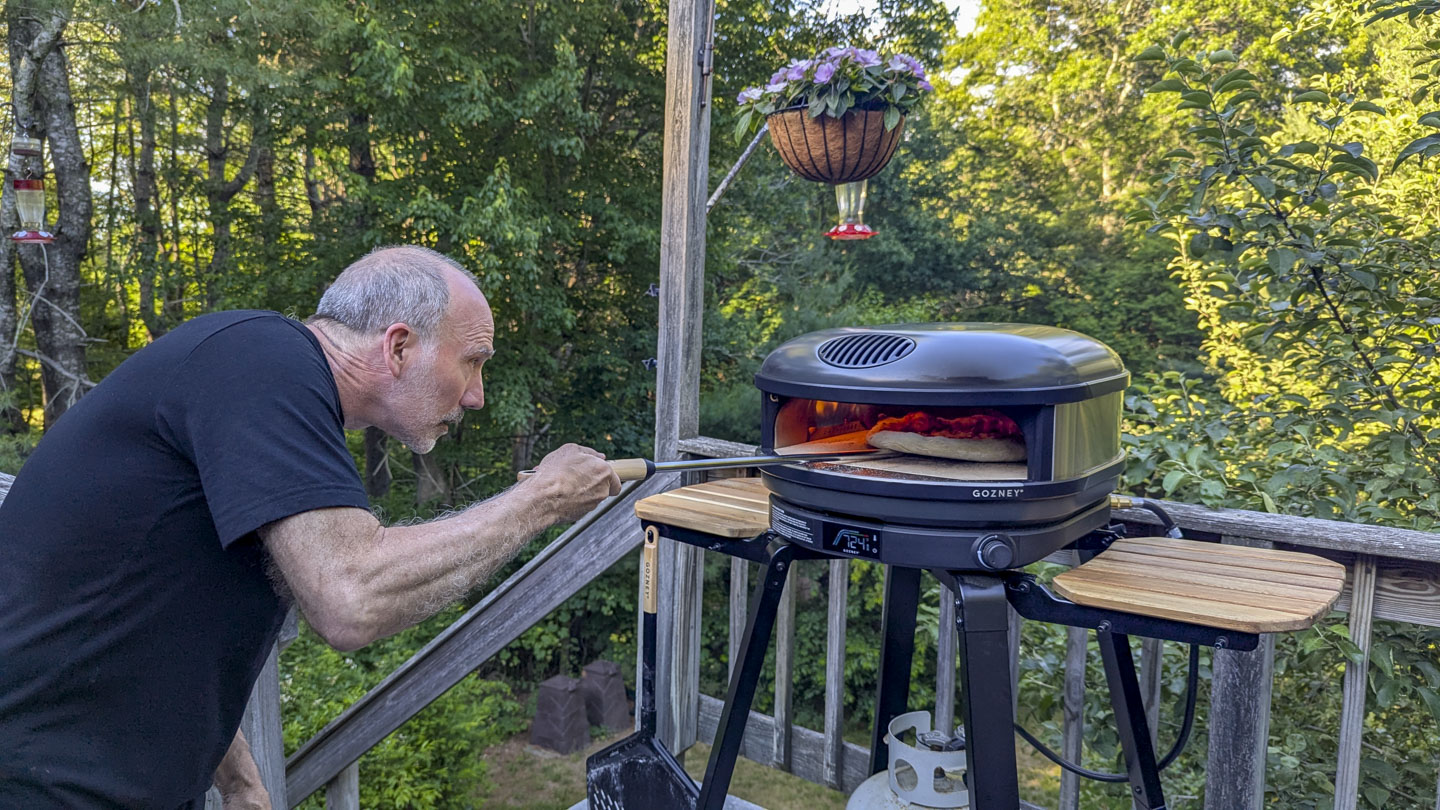
Note that the temperature here was in the low 700°F; part of our experimenting was deciding what temperature to use. We feel closer to 800 is better. Paul is using the turning peel here to (no surprise) turn the pizza.
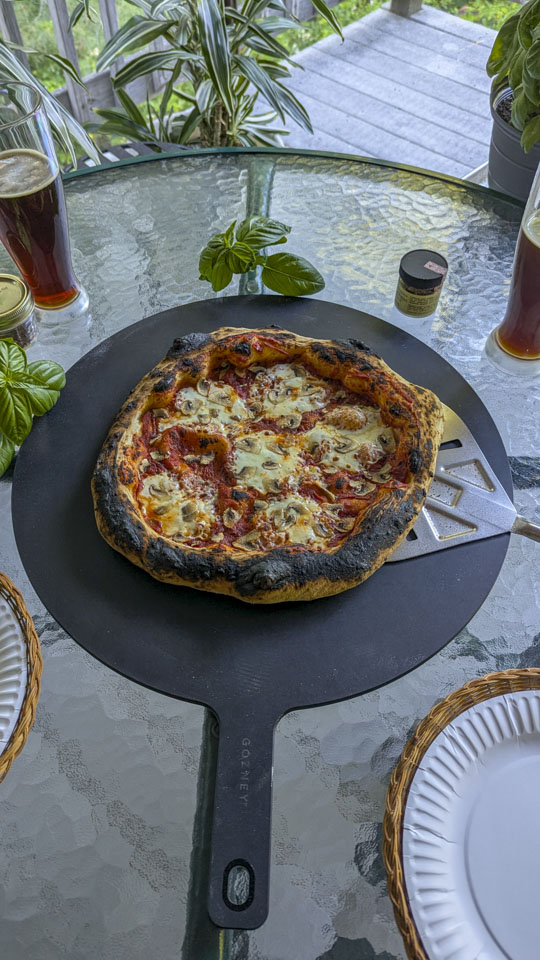
So our next pizza went back to a higher temperature (the thermometer shows 782°F).
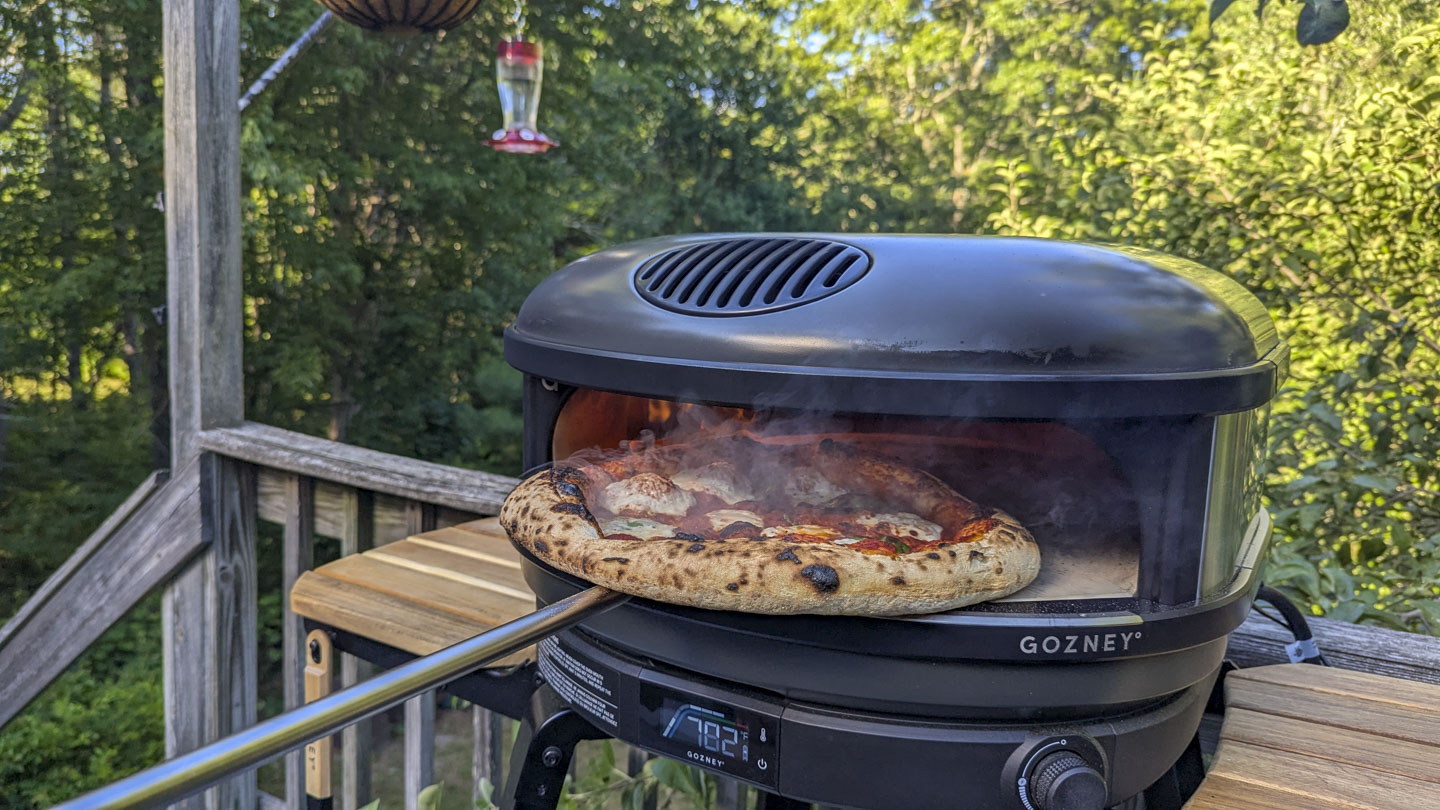
The crust was fabulous: thin and airy.
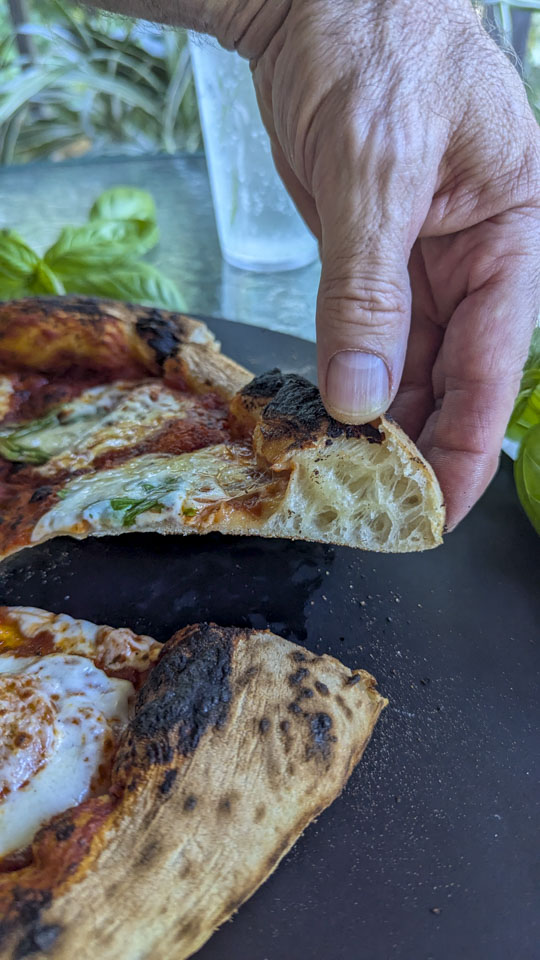
Now that we were getting the technique down, it was time to branch out to other pizza options. Our "traditional" pizza, when making them in the kitchen oven, has been a mushroom, red bell pepper, and black olive pizza. So we decided to try that. It was, literally, a flop. The pizza fell off of the peel as Paul took it out of the oven! We picked it up off the deck but of course had to throw out the toppings. After sprinkling some grated cheese on it, it was still delicious. For an album of pictures go to this link.
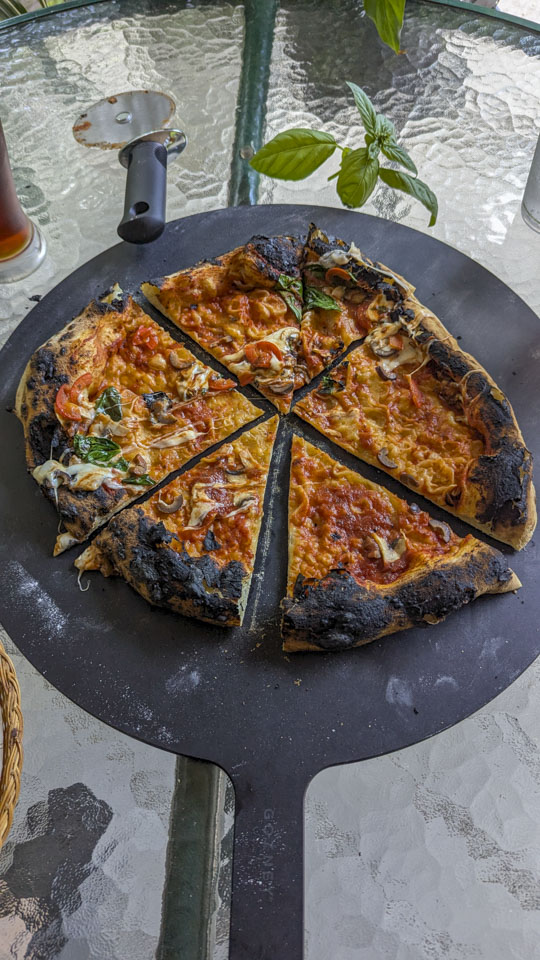
Not to be defeated, we tried again. This is what the loaded pizza was supposed to look like. This pizza was cooked at an even higher temperature, in the upper 800s, but that is a little too high. Click on this link for a small photo album.
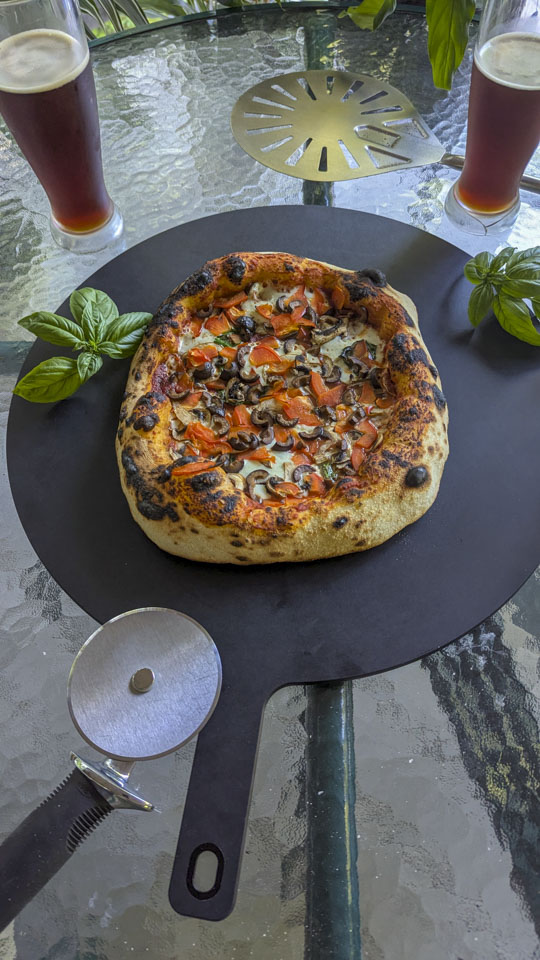
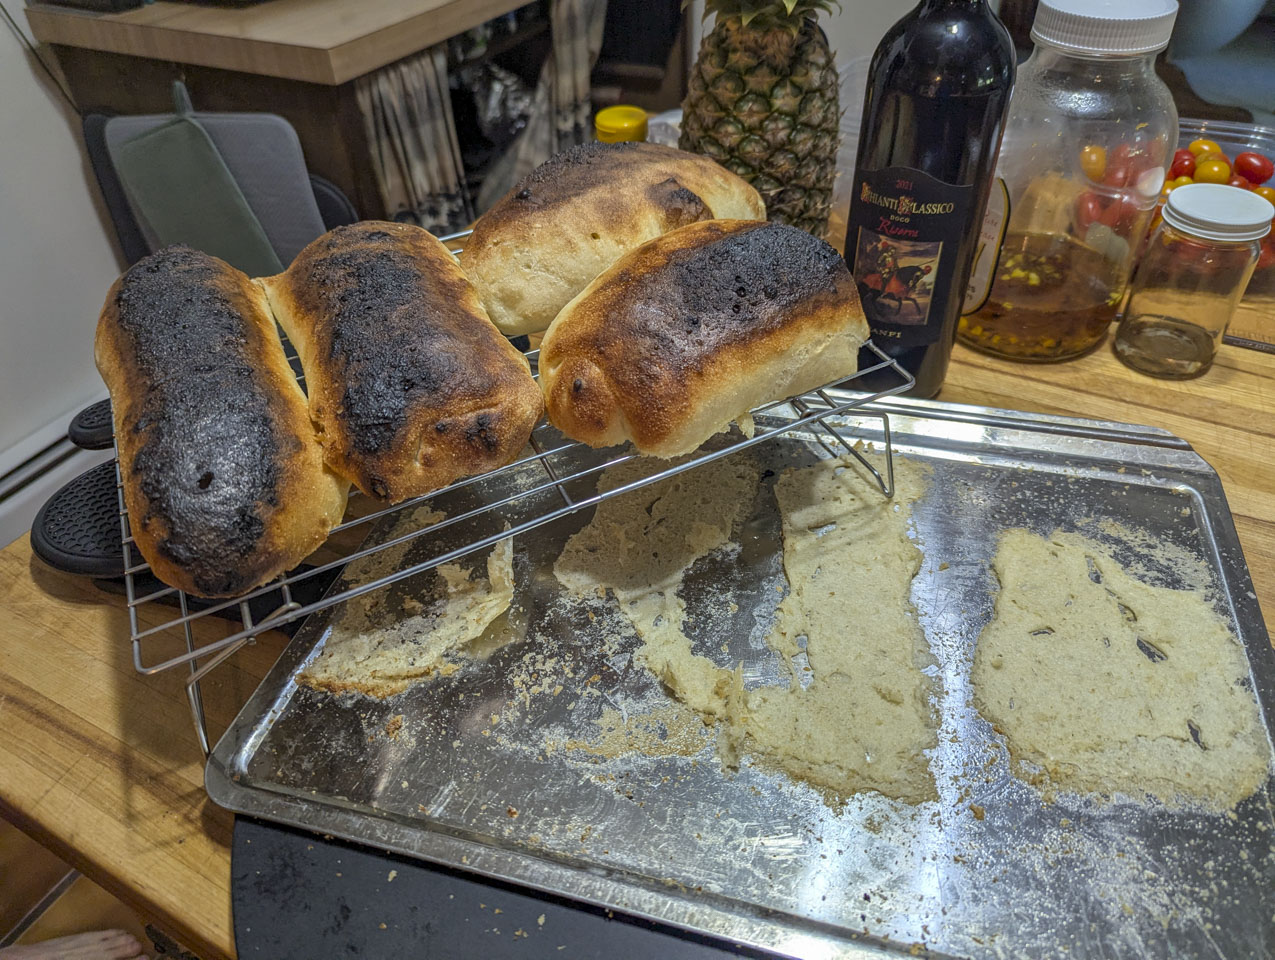
Our next experiment was to try making bread / rolls in the oven. The temperature is too hot for parchment paper, so we first tried launching it the way we launch pizza. That didn't work. (No pictures of that, but it was a disaster.) The next day we decided to try again and cook them on a metal pan. But it was still not a success. The tops burnt and the bottoms stuck. We were back to the drawing board for this, although at least this batch was edible.
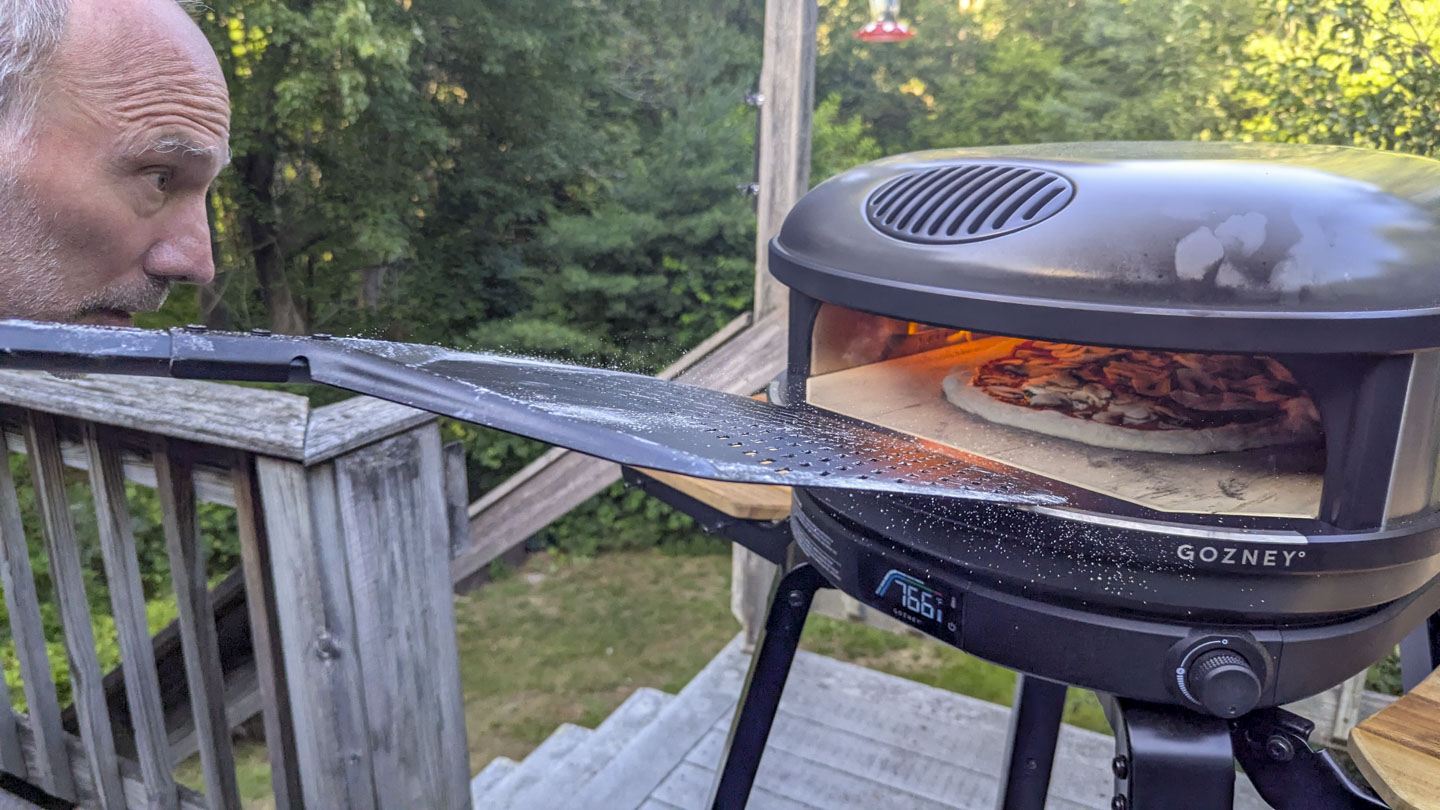
We always seem to have mushrooms to use up. Here is an action shot of launching a (mushroom) pizza into the oven. You can see the cornmeal scattering in the air. The cornmeal helps prevent the pizza from sticking to the peel.
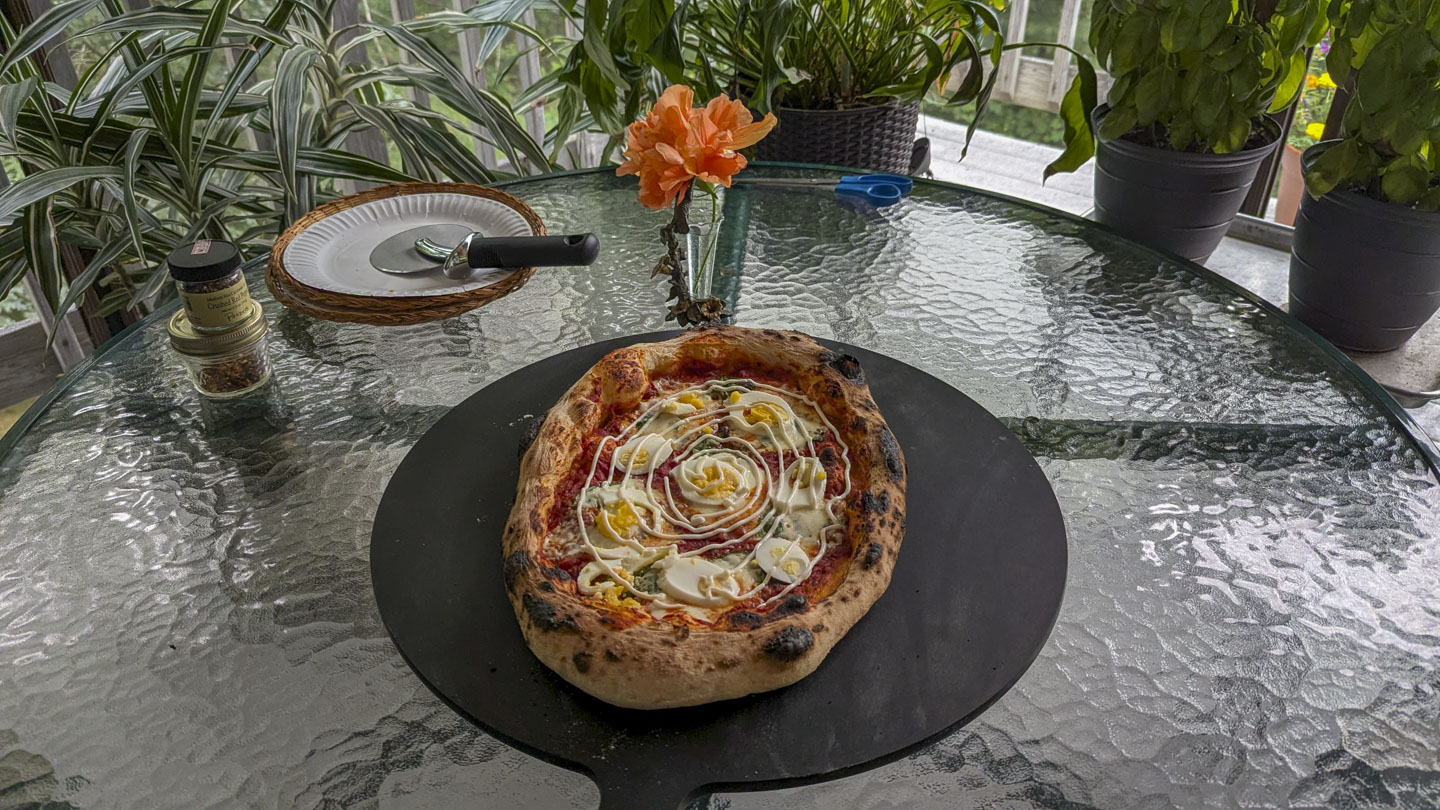
Are you familiar with a Rossini pizza? Probably not. It is a specialty pizza from Rossini's hometown of Pesaro, Italy. Wikpedia entry for Rossini Pizza. It is basically a margherita pizza that is then topped with sliced hardboiled egg and mayonnaise. While this sounds bizarre it is actually rather good, and very popular in the Pesaro area.
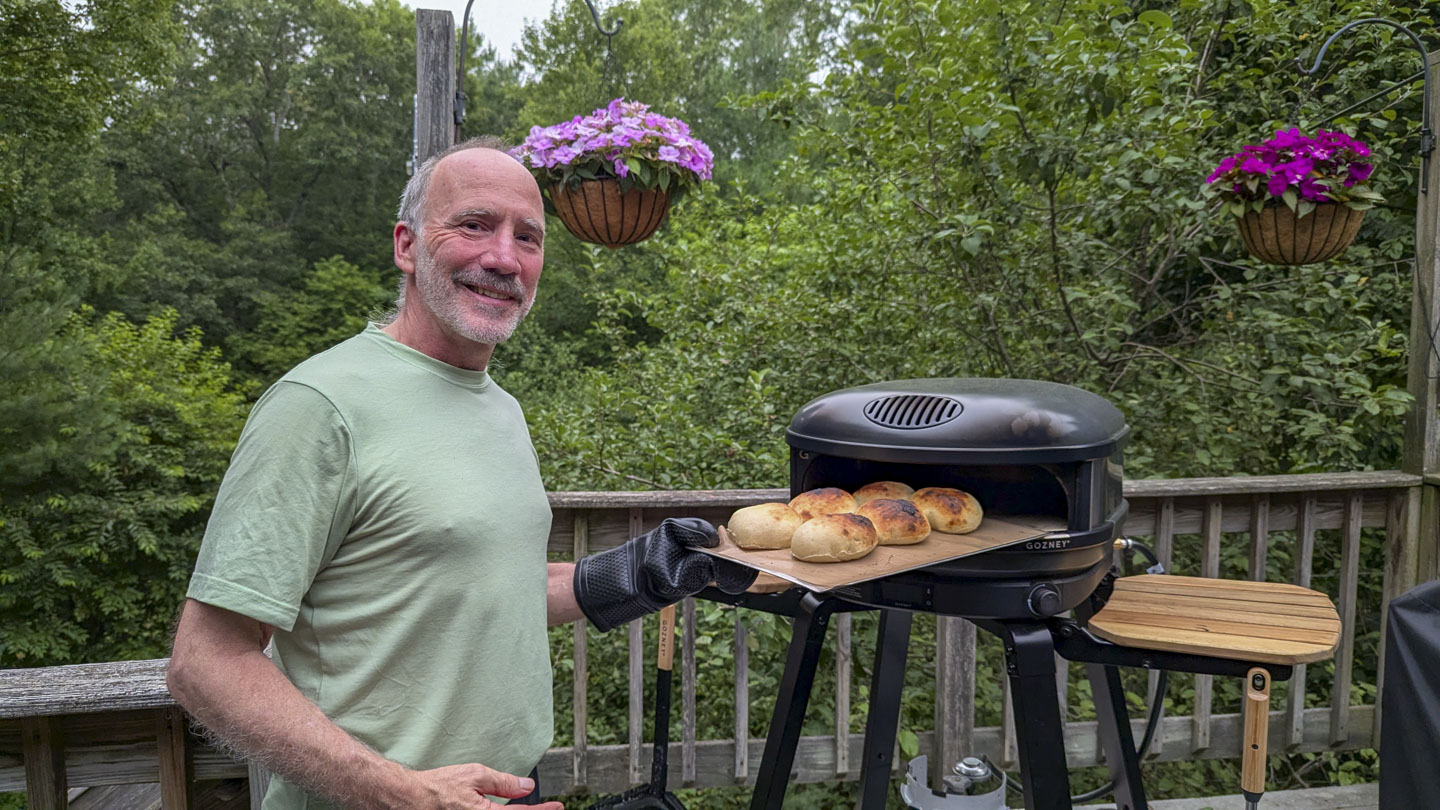
We also tried making rolls again. Anne found some "parchment paper" that is actually a thin silicone sheet that can withstand higher temperatures (still sub-600, but higher than regular parchment paper). Finally, success! They weren't perfect but were very good. For a picture album of the Rossini Pizza and the rolls, click on this link.
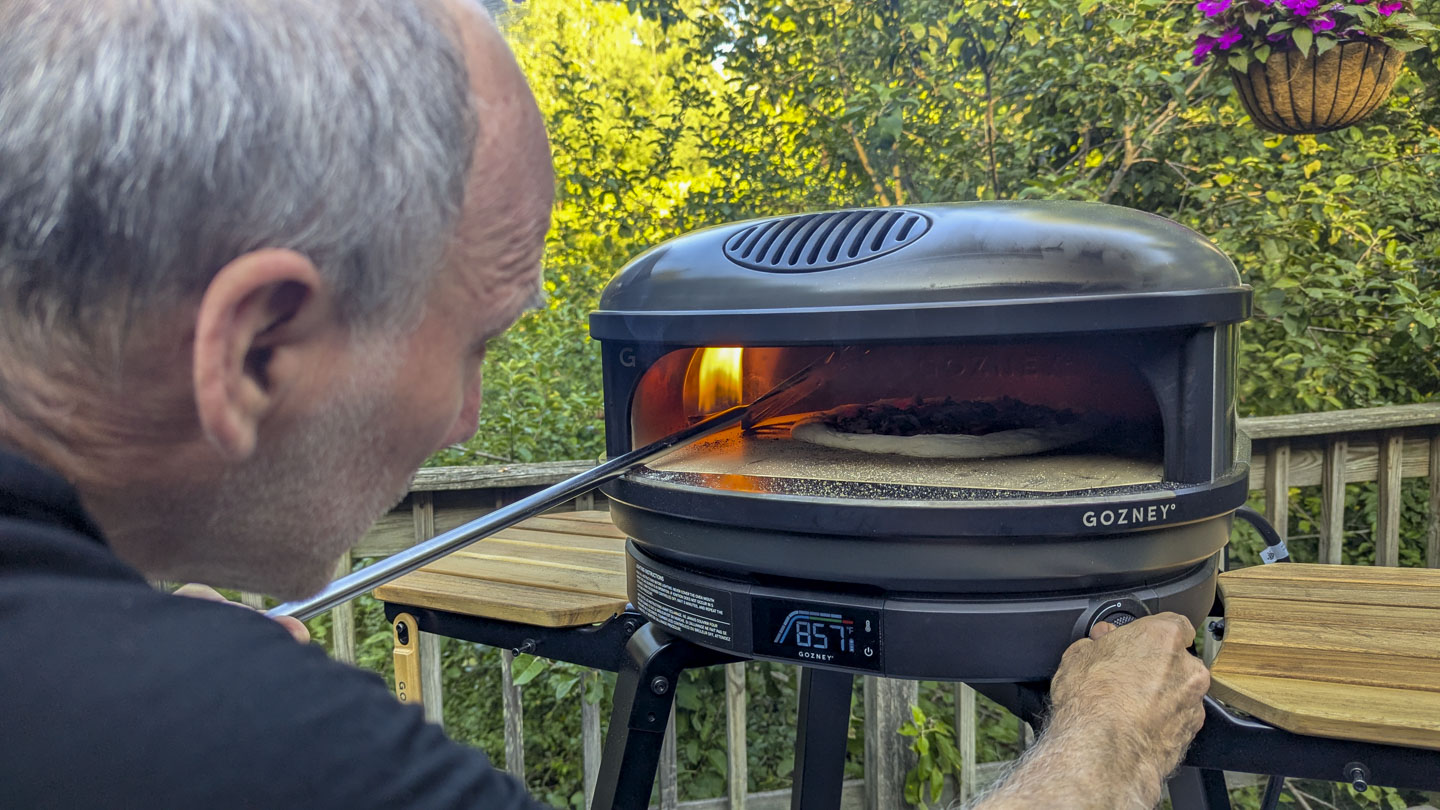
We made another "loaded" pizza; you can find a few pictures at this link. It was okay but slightly undercooked. But this next picture will show you the technique that we have worked out. We preheat the oven to around 800° F, launch the pizza, turn down the flame, and then use the turning peel to protect the crust from over-charing. The oven retains the high temperature extremely well but the lower flame is less likely to over-char the pizza.
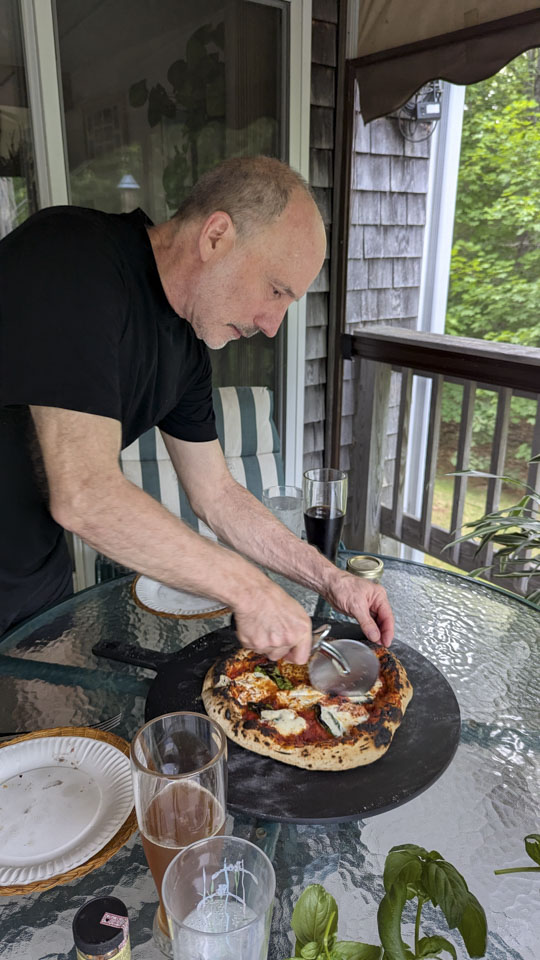
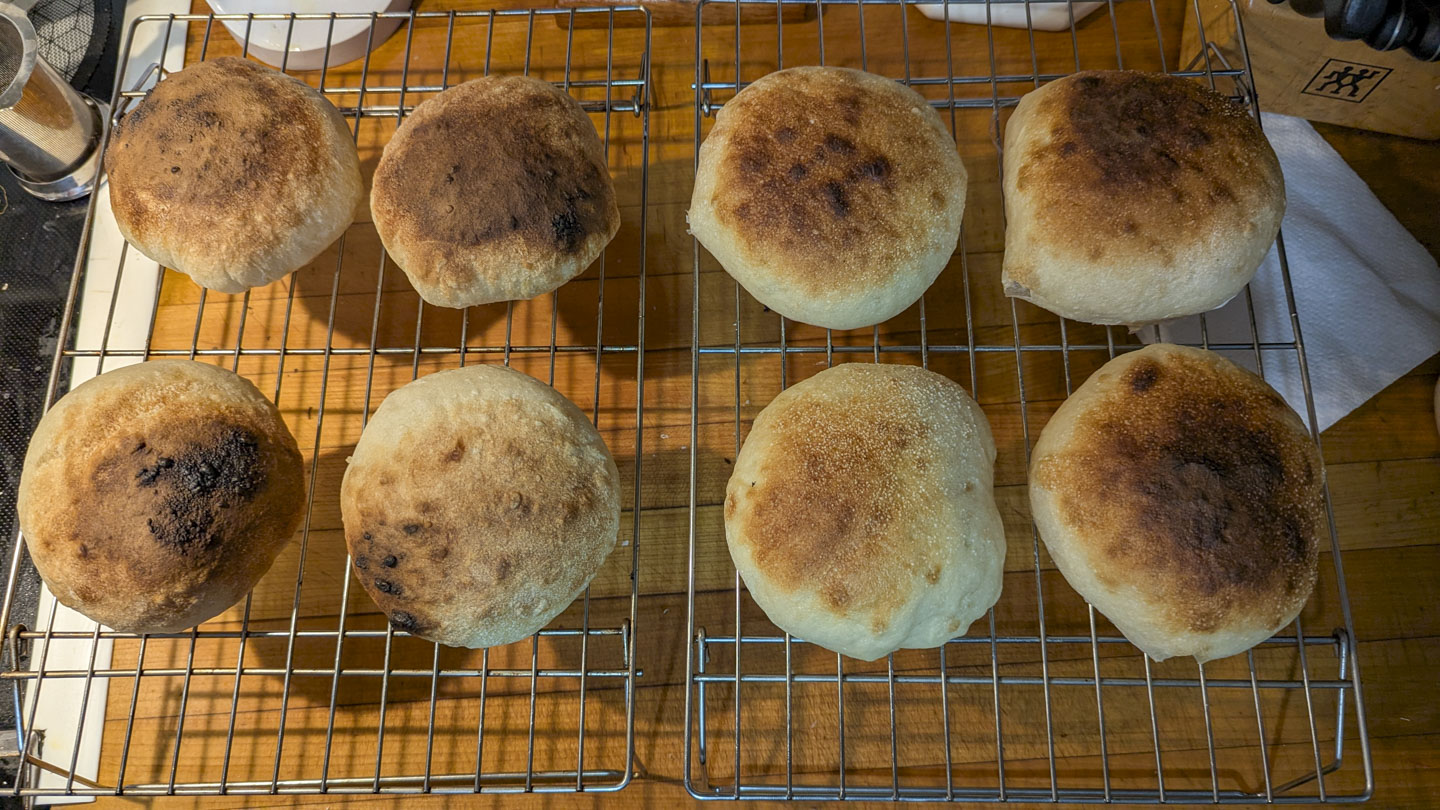
After another mushroom pizza (which was delicious even if slightly pear shaped), we moved on to we made more rolls and then an eggplant pizza. You can find the photo album here. The rolls were great, except we learned that they should DEFINITELY be misted with water before baking. We forgot on the 4 in the left of the photo, and the crust is okay but not as good.
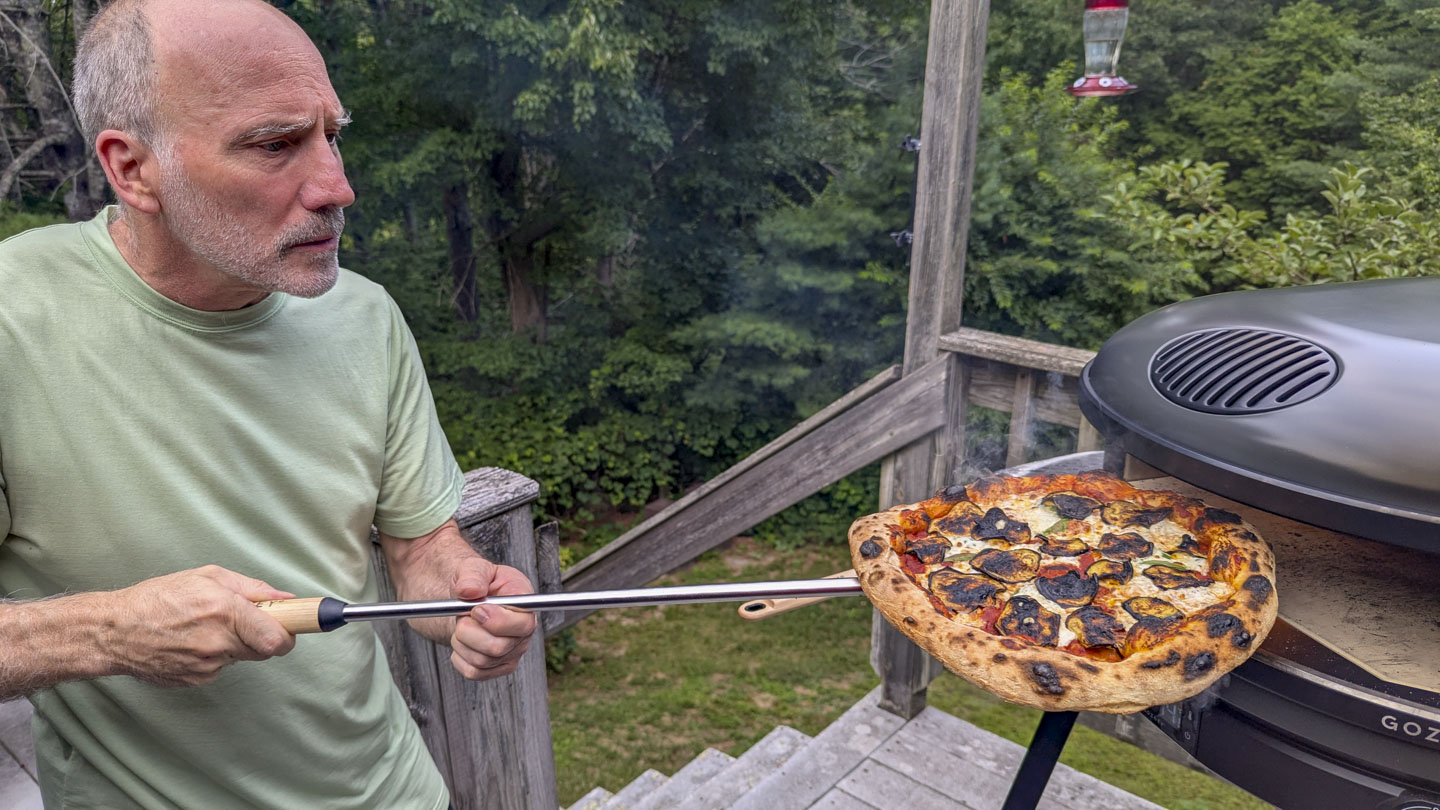
The eggplant was delicious, although it might need to roast the eggplant slightly less prior to putting it on the pizza.
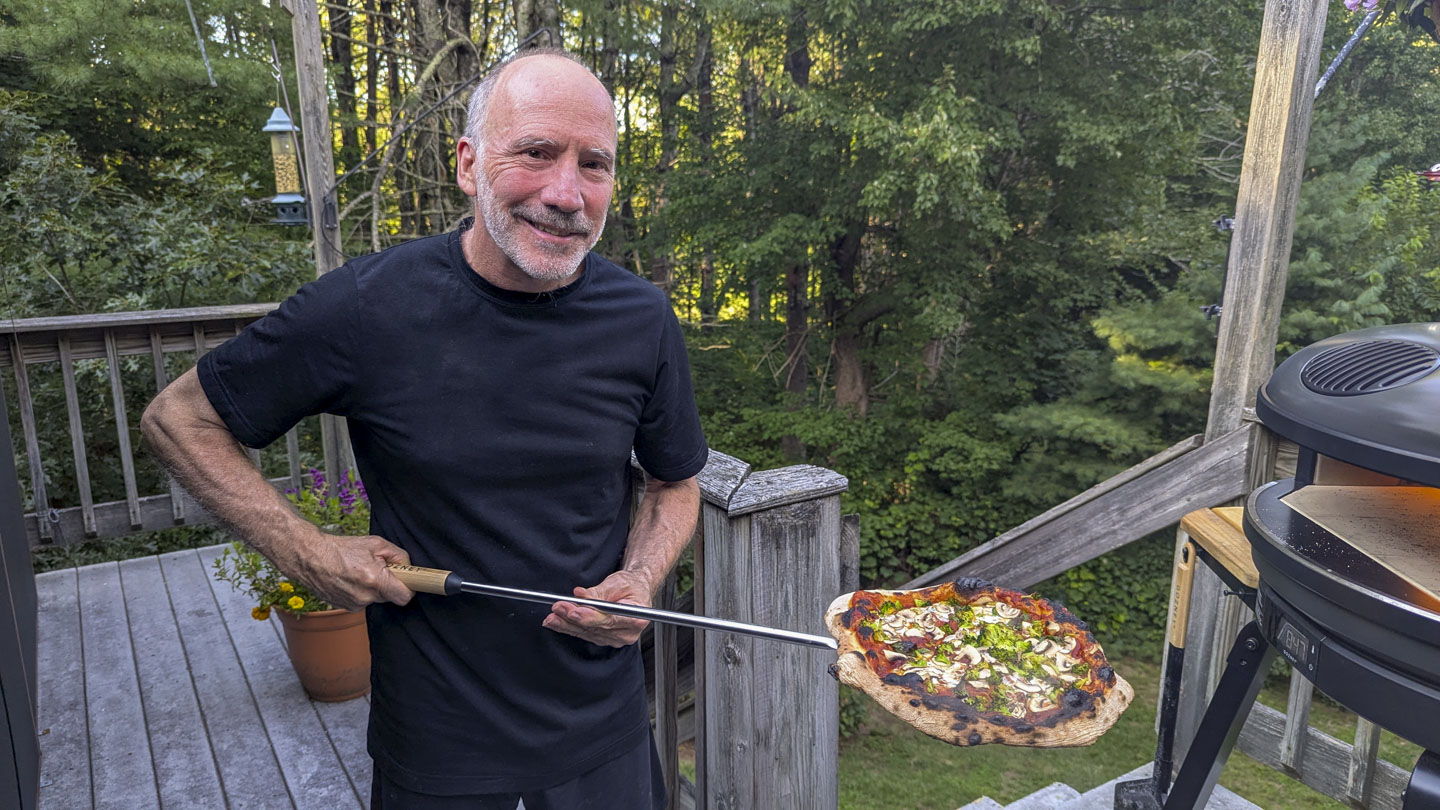
Our next experiment was broccoli and mushroom toppings. Here is the photo album. It was not our most beautiful pizza, but it was still very tasty.
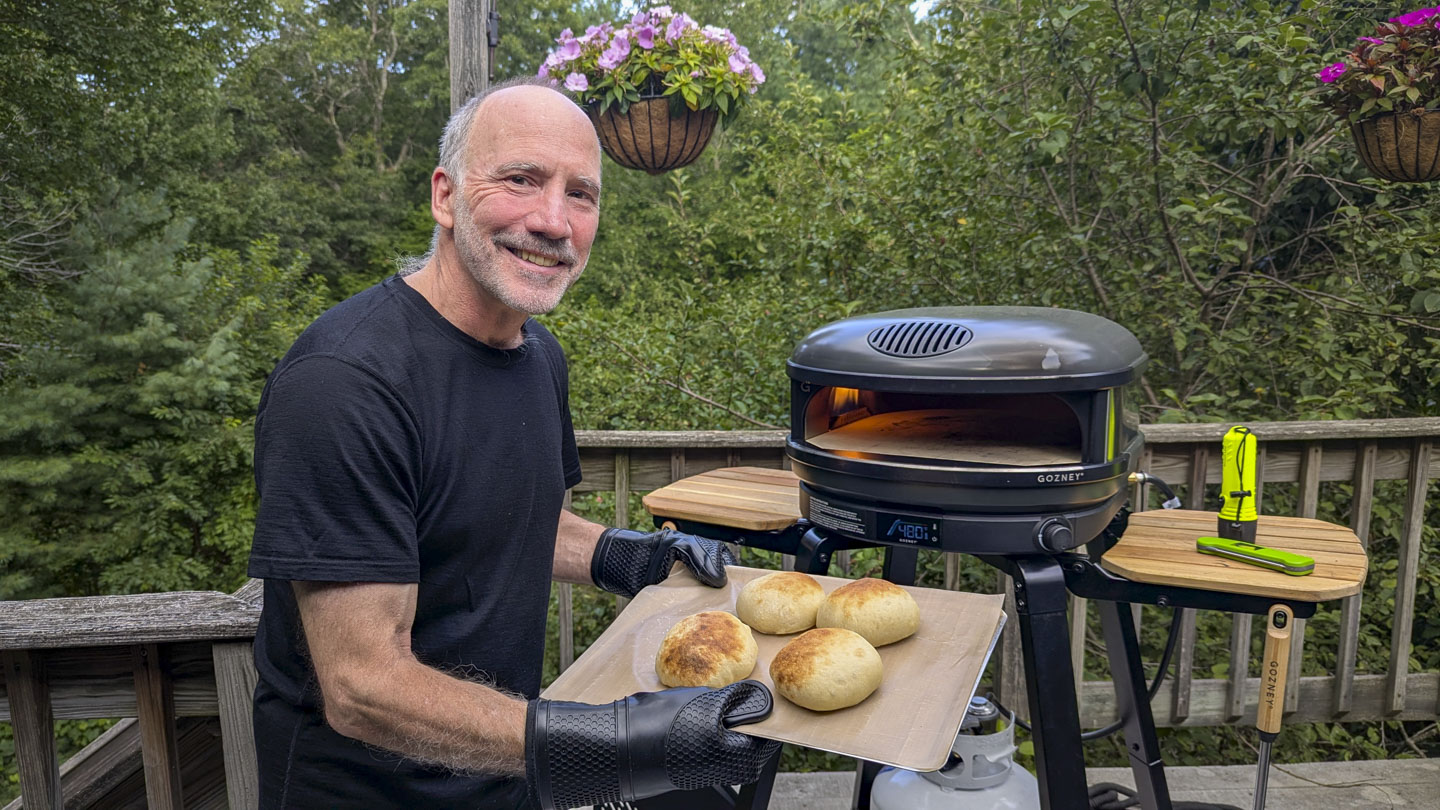
Next were more rolls and another margherita pizza. (Click here to see a photo album.) We were pleased with how well the rolls came out.
Our next pizza is what we call a "Ronnie Special" because Paul's brother Ron typically gets this: extra sauce, light on the cheese. It is a delicious pizza. We used a dry mozzarella on this pizza, freshly grated, which melts better than the moist mozzarella and is a better fit for this style. The album can be found at this link.
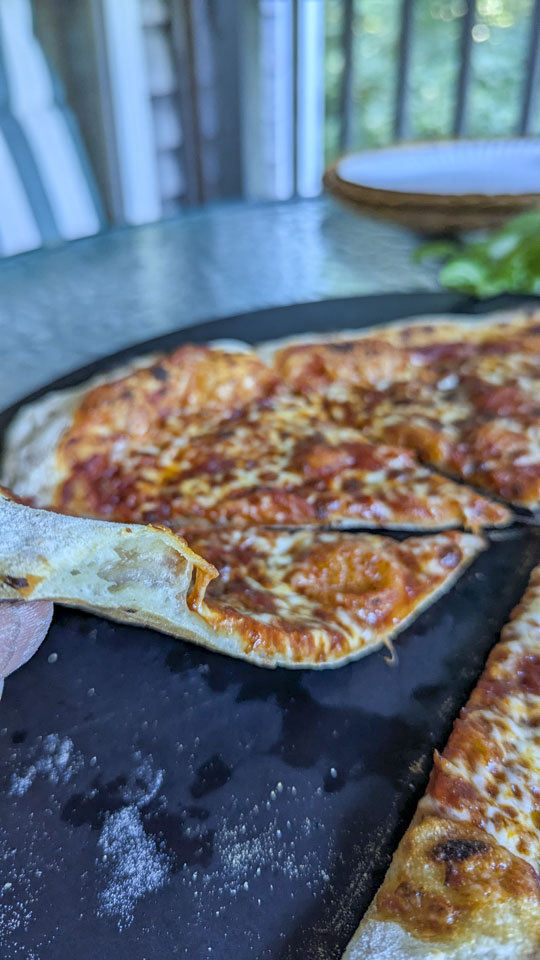
Not that you need to see yet another picture of a pizza, but this one looks so pretty! Photo album here.
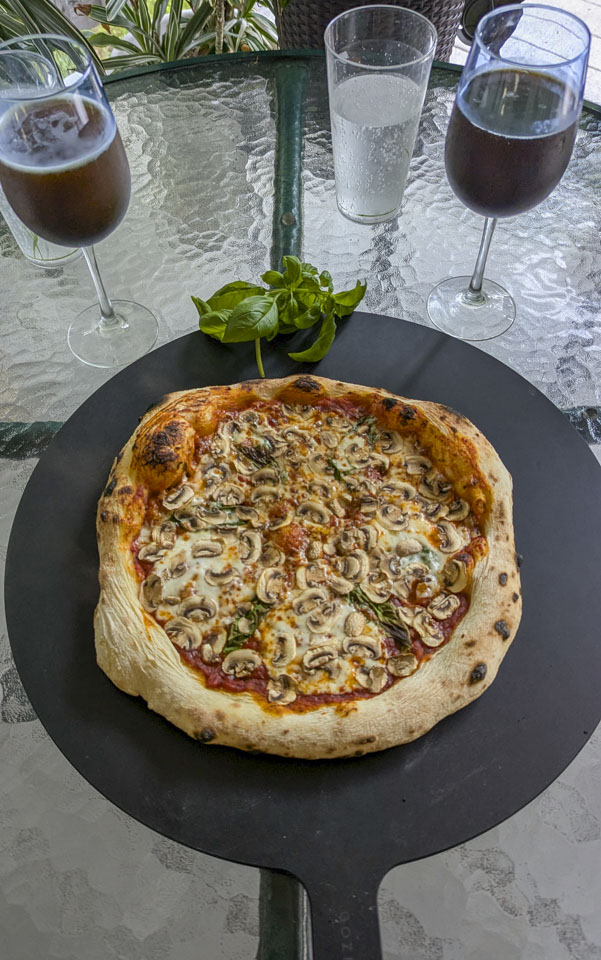
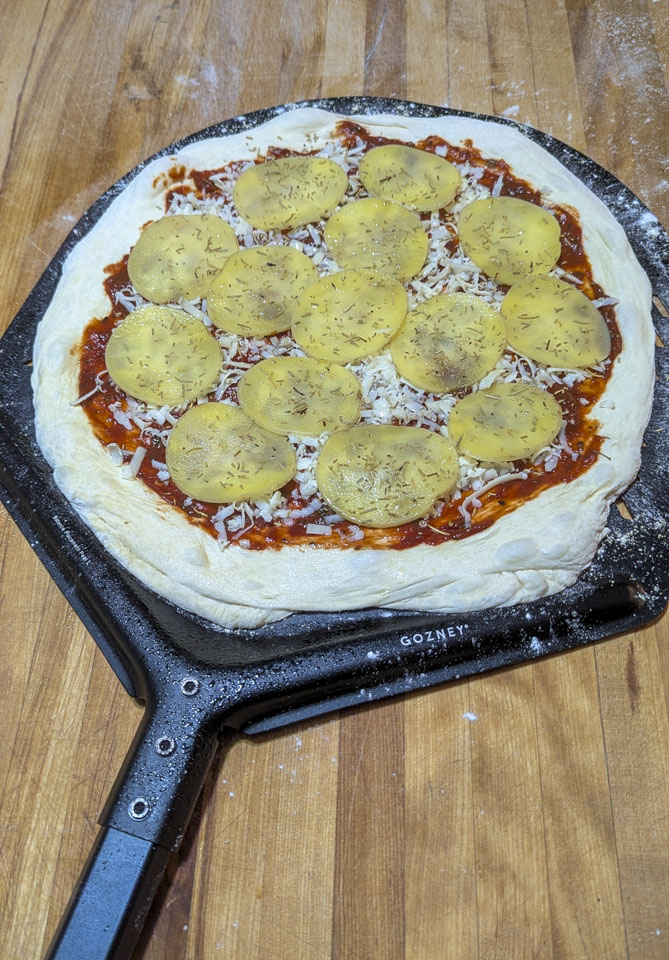
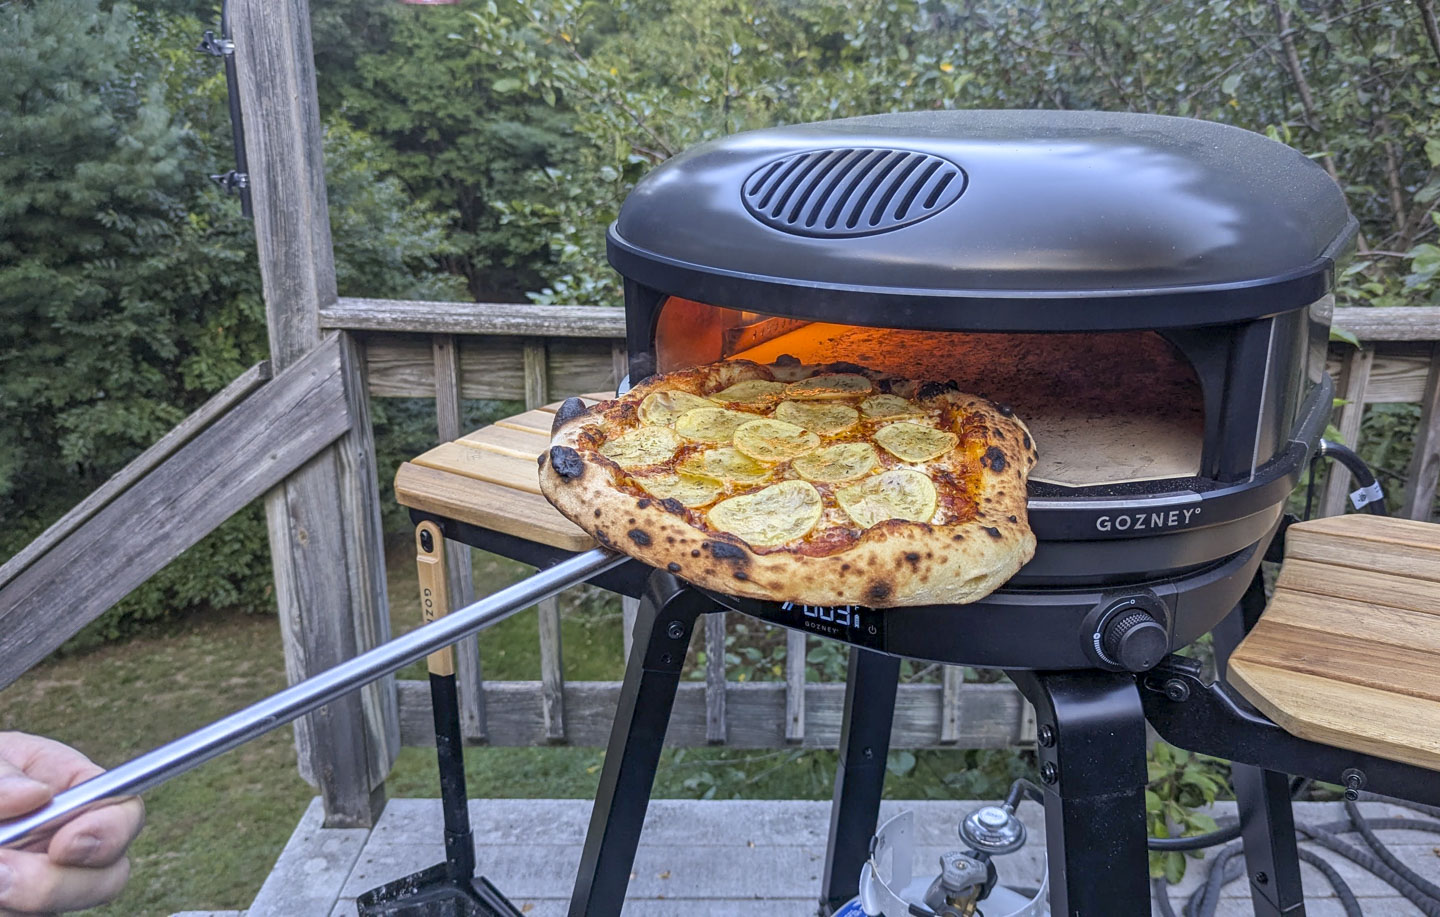
Our next pizza was an outside-of-the-box version: potato pizza. It was surprisingly good. We pre-cooked thin slices of potato before placing them on the pizza, and sprinkled rosemary over all of it. This was inspired by what we call Irish Lasagna, a casserole that has potato, rosemary, (cheddar) cheese, and corn. We left the corn off the pizza, though, and used mozzarella. More pictures & commentary can be found here.
Pre-cooking:
Post-cooking:
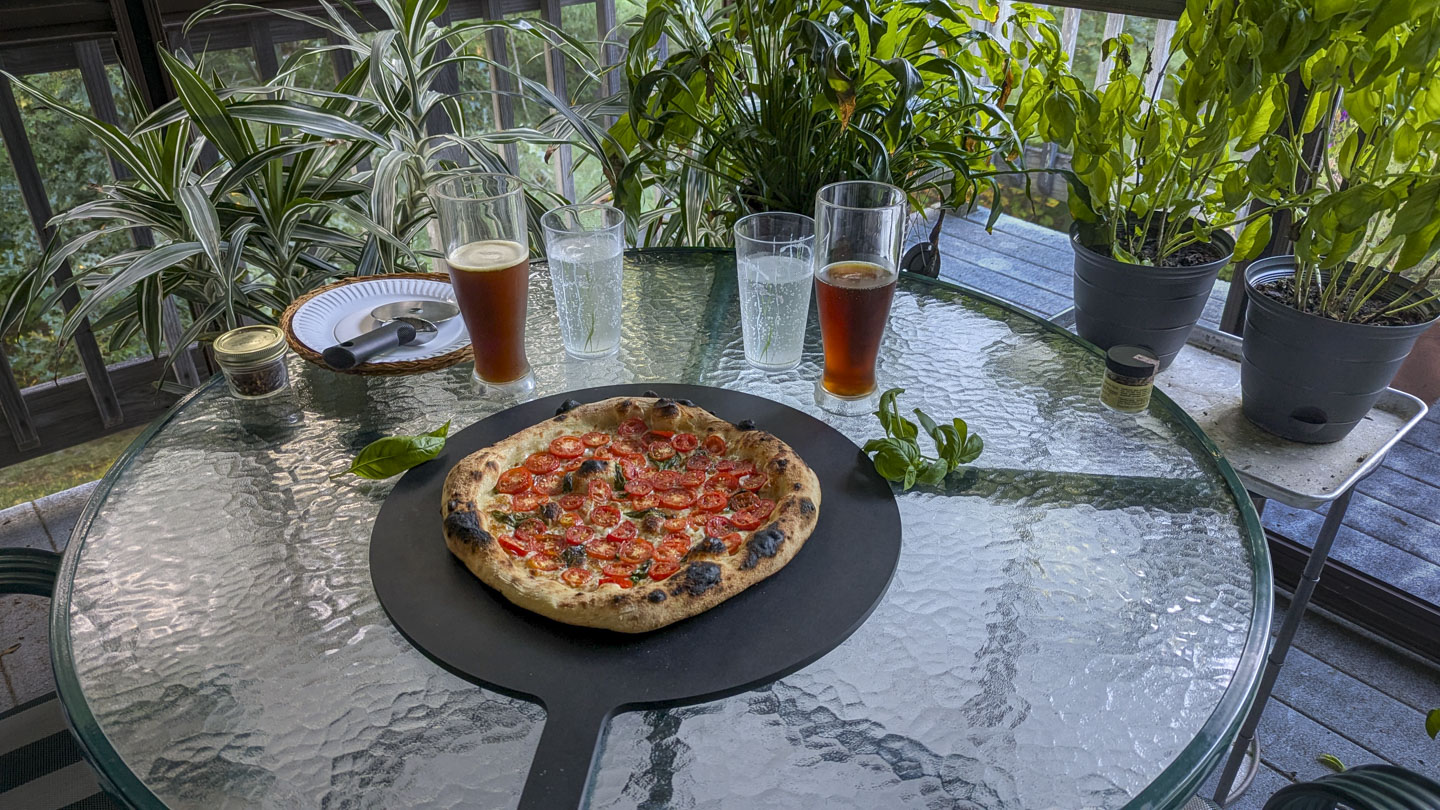
One more pizza picture for this page. We had many small grape tomatoes from our garden, so we naturally thought about putting them on a pizza. No sauce, but lots of tomato. This was a fabulous use of our garden tomatoes. Click here for the album.
A quick reference to the various pizza photo albums linked to above:
- June 14th Margherita
- June 28th Loaded Pizza Flop
- July 2 Loaded Pizza
- July 15th Pizza Rossini and rolls
- July 19th Pizza with Toppings
- July 28th Eggplant pizza and Rolls
- August 4th Portobella Mushroom and Broccoli Pizza
- August 16 Margherita pizza and rolls
- August 25 Ronnie Special
- September 2 Mushroom
- September 10 Potato Pizza
- September 16 Sliced Grape Tomato
Updated September 2026